
Last updated September 10, 2026
Full 25-point door and opener safety check with every visit - springs, cables, rollers, tracks, and your LiftMaster or Chamberlain opener included
You get a price before we start. It does not change when the truck arrives.
 Before
 After
After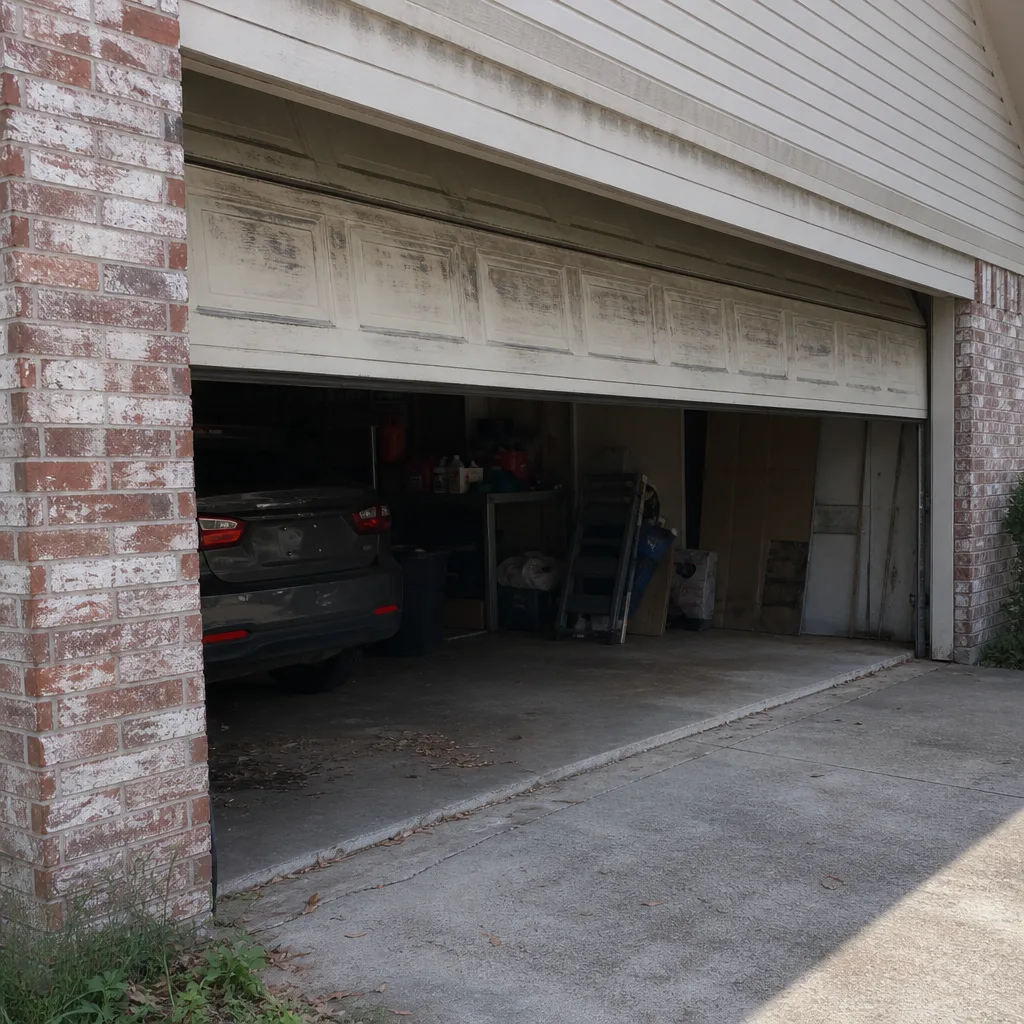 Before
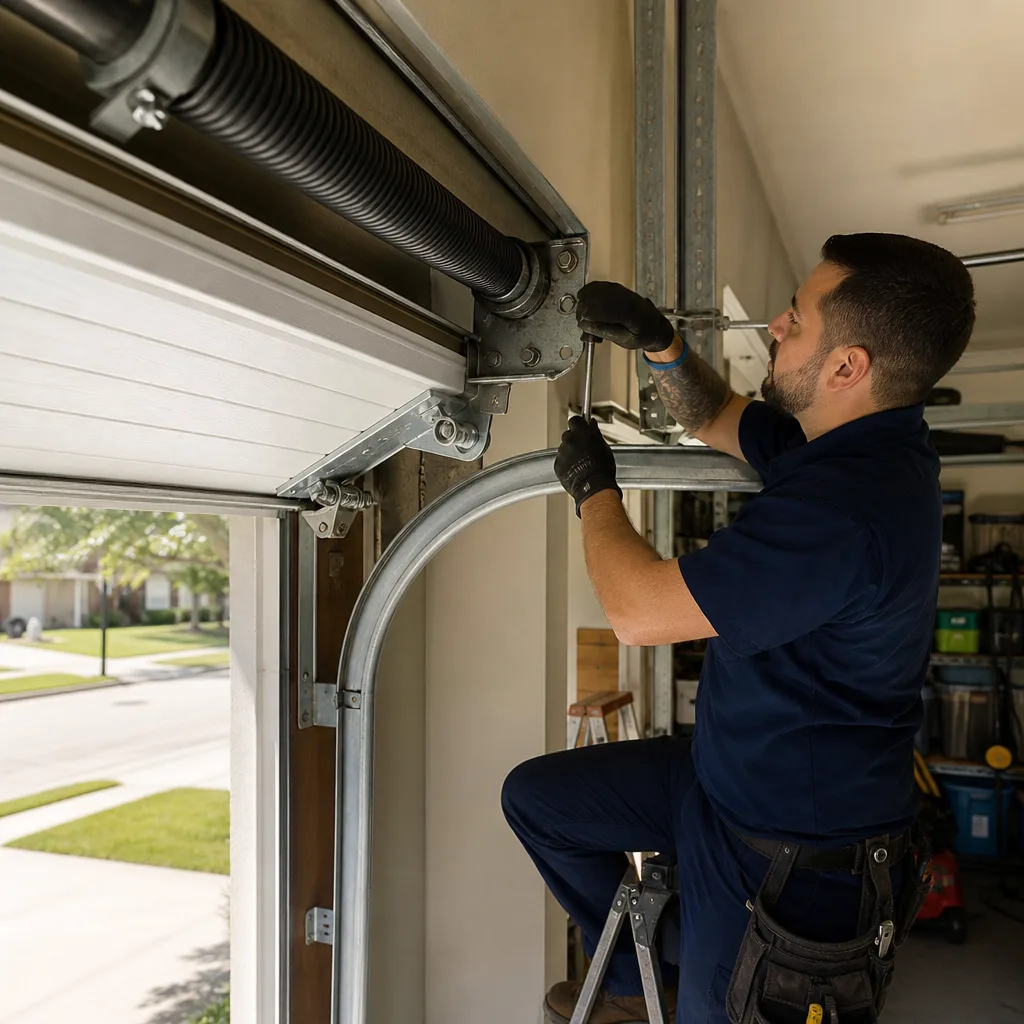 After
After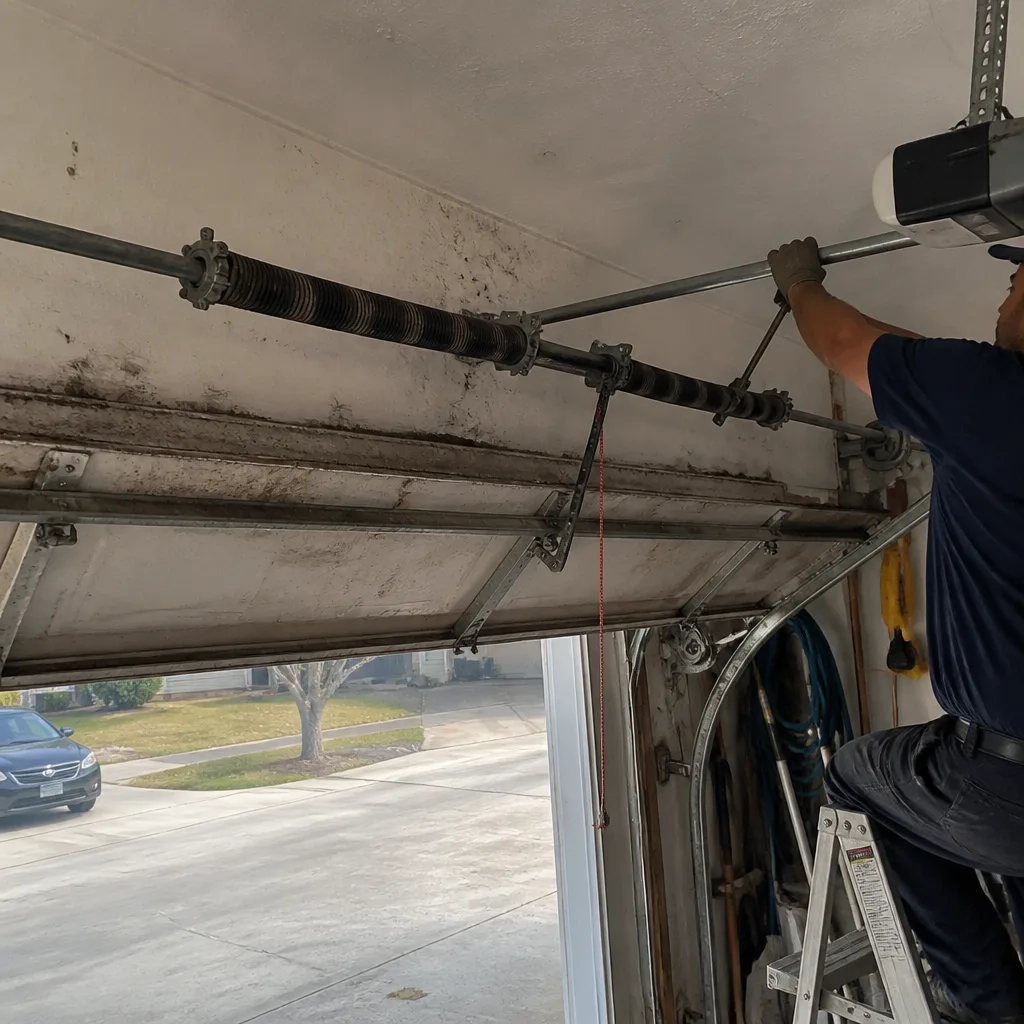 Before
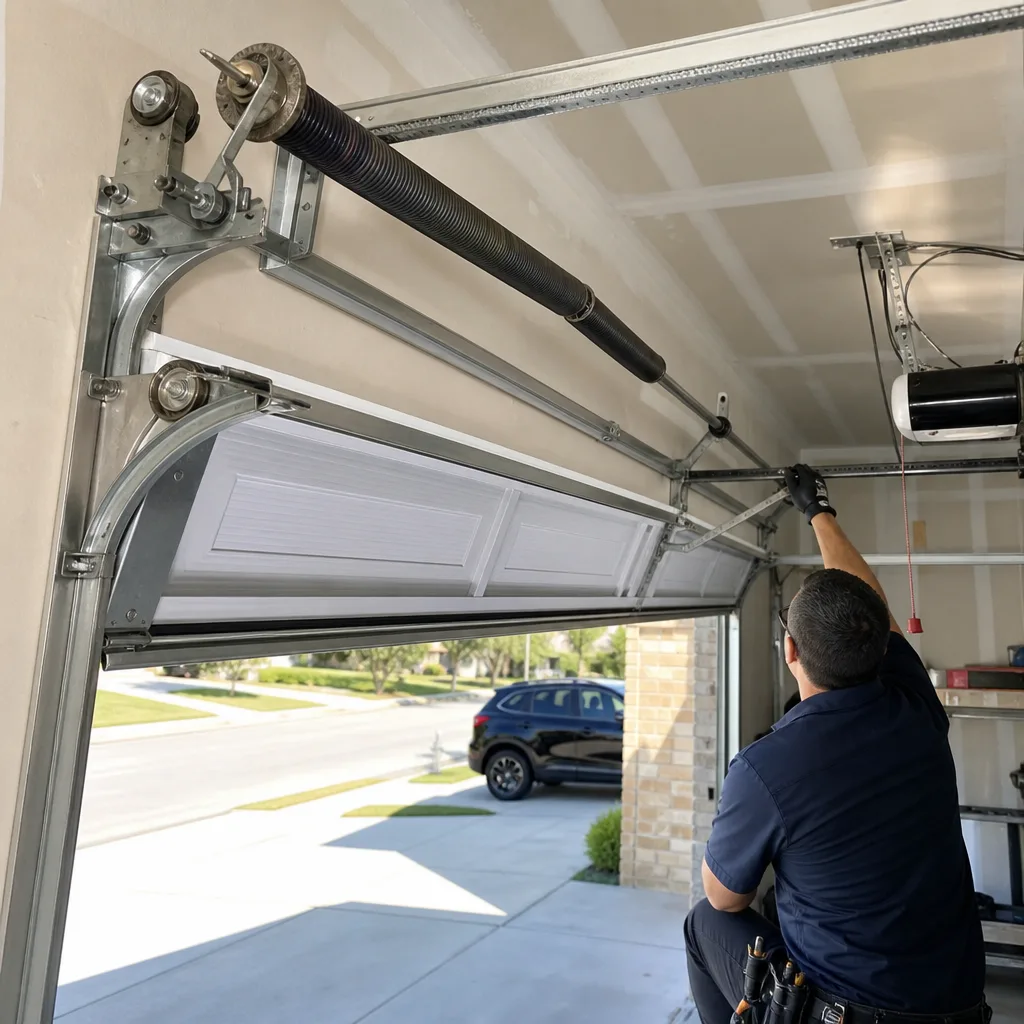 After
AfterDIY vs Professional Garage Door: The Liberty Homeowner’s Decision Guide
A garage door torsion spring under full tension stores roughly the same kinetic energy as a mid-size car rolling at 5 mph. When that spring lets go, it doesn’t ask permission and it doesn’t give second chances. Liberty homeowners call us after the damage is done far too often. But here’s the part most guides won’t tell you: lubricating rollers, adjusting the photo-eye sensors, and swapping a weather seal are beginner-safe tasks you can knock out on a Saturday morning without a service call. This guide draws the actual line between what’s safe in your Liberty garage and what belongs in the hands of someone who has wound a thousand springs and knows exactly which winding bar thickness a Clopay steel-back door in the 77575 zip code requires. For more guidance, see our Garage Door Repair Maintenance Checklist for Liberty Homeowners.
Quick Answer
Most garage door maintenance in Liberty is safe to DIY, including lubrication, sensor alignment, weather seal replacement, and visual inspection. If you’re unsure where your project falls, check Garage Door Permits, Codes & Inspections in TX: What You Need to Know. Torsion spring replacement, cable work, and panel replacement are not safe DIY projects because the injury risk is real and well documented, and the tools and techniques required are specialized. If the task involves a spring under tension or a cable bearing the weight of the door, call a licensed professional like Otto’s Garage Door at (346) 496-4718.
Table of Contents
- What’s Actually Safe to DIY in Your Liberty Garage
- Torsion Springs vs Extension Springs: Why the Distinction Matters More Than Most Guides Admit
- The Real Cost Comparison: Pro Fee vs Part Cost vs Your Time and Risk
- How to Do a Professional-Quality Door Balance Test Yourself
- Liberty Parts Landscape: What Local Suppliers Carry vs Big-Box Stores
- When the Opener Isn’t the Problem (And Fixing It Anyway Costs You Twice)
- Safety Systems You Should Test Yourself in Liberty, Texas
- Common Mistakes to Avoid
- When to Call a Professional
- Frequently Asked Questions
- The Bottom Line
What’s Actually Safe to DIY in Your Liberty Garage
Let’s get specific, because vague advice is how homeowners end up in urgent care. The following tasks are genuinely safe for a Liberty homeowner with basic tools: a socket set, a step ladder, a can of white lithium grease, and a roll of weather seal. None of these tasks require touching a spring or cable under tension. None of them can drop a 200-pound door on your head when done correctly. Here’s the go/no-go list we give every homeowner who calls Otto’s Garage Door home asking whether they need a service visit.
Safe to DIY
- Lubricating rollers, hinges, and the torsion spring itself - white lithium grease on the spring, a silicone spray on rollers and hinges. Takes 20 minutes. Do it twice a year in the Liberty climate, where humidity from the Trinity River basin accelerates rust on unpainted metal parts.
- Testing the safety auto-reversal system - place a 2×4 flat on the floor under the door and close it. If the door doesn’t reverse within two seconds of contact, the system needs adjustment. That’s a sensor alignment issue 90% of the time, and sensor alignment is safe to do yourself.
- Replacing the bottom weather seal - the rubber strip that keeps rain, dust, and the occasional Liberty County water moccasin from under the door. It slides out of the retainer channel and slides back in. No springs involved.
- Cleaning and aligning photo-eye sensors - those little units on either side of the door track. If the door won’t close and the opener blinks, the sensors are misaligned or dirty. Wipe the lens, adjust the bracket by hand, test again.
- Tightening loose track bolts and hinges - a socket wrench and 10 minutes. Loose hardware makes noise and reduces door life. Tightening it is safe because the track hardware is not under spring tension.
- Inspecting cables and springs visually - look for fraying, rust, gaps in the spring coils, or wear grooves. You can spot trouble without touching it. That’s the most valuable DIY skill a Liberty homeowner can develop: knowing what worn looks like before it fails at 6 a.m. on a Monday.
Not Safe to DIY
- Torsion spring replacement or winding - this is the one. The spring above the door, horizontal, on a steel shaft. It stores enough torque to shatter bone or remove fingers when it unwinds unexpectedly. This is never a YouTube project.
- Extension spring replacement - these are the long springs on the sides of the door. Slightly less dangerous than torsion springs, but still under tension and still capable of serious injury. Most DIY guides understate this. We don’t.
- Cable replacement or adjustment - the cables carry the door’s weight when the spring breaks. They route through pulleys and drum grooves. If one slips while you’re working, the door drops.
- Panel replacement - a single panel seems simple, but the door’s weight and alignment mean a wrong move can warp the track or tip the door off its rails. It’s also the one repair where a color mismatch makes your whole house look off, and Liberty neighborhoods like Moss Bluff and Kenefick have HOAs that notice.
- Anything involving the opener’s internal motor or logic board - opener electronics are sealed units. Opening one voids the garage door opener warranty and exposes you to live capacitors. If the opener is straining, the problem is almost never the opener. More on that below.
Torsion Springs vs Extension Springs: Why the Distinction Matters More Than Most Guides Admit
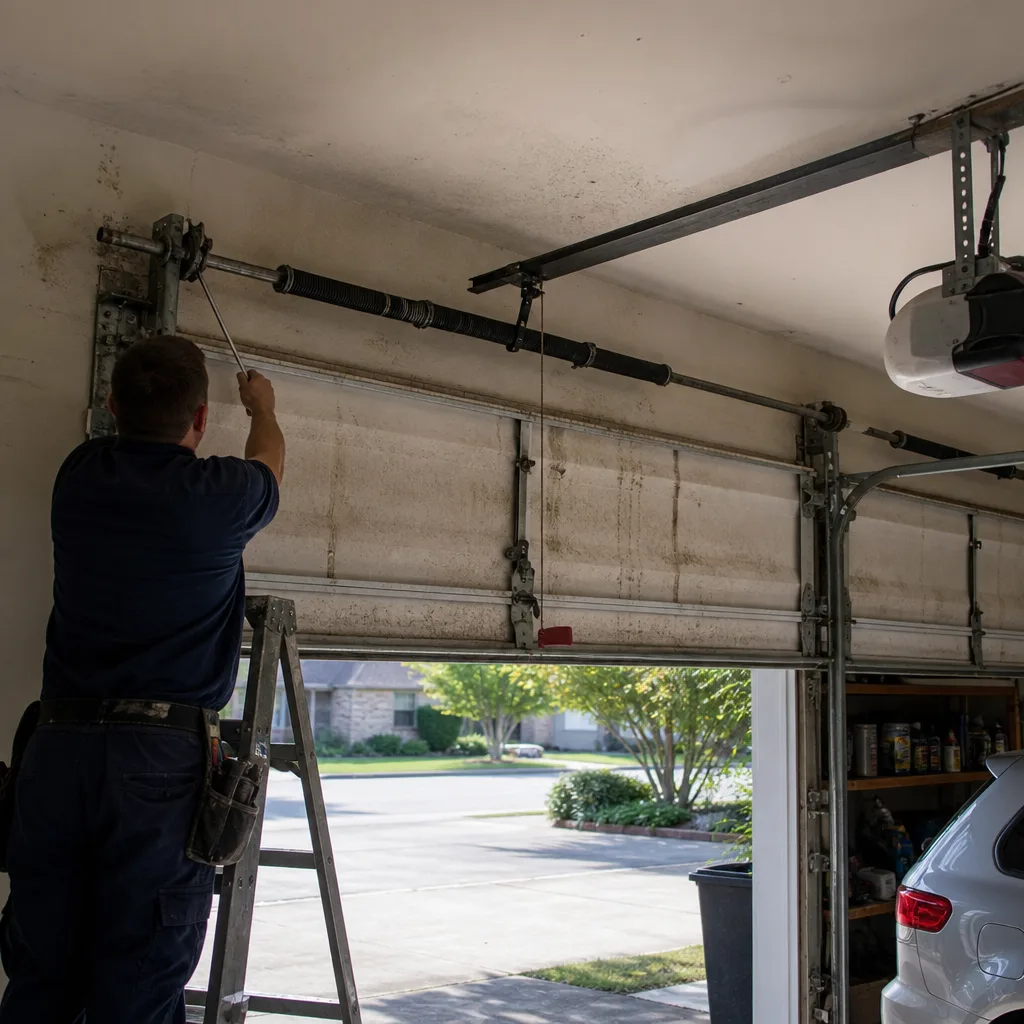
Most DIY garage door guides lump all springs together. That’s a mistake with real consequences. The two spring types fail differently, require different tools, and carry different risk levels. If you don’t know which type you have, look at the door right now. A spring mounted horizontally on a shaft above the door opening is a torsion spring. Springs mounted vertically, running along the horizontal tracks on both sides, are extension springs. Liberty homes built before roughly 1990 commonly have extension springs. Newer construction and recent replacements almost always use torsion springs, which are smoother, safer in operation, and longer-lasting.
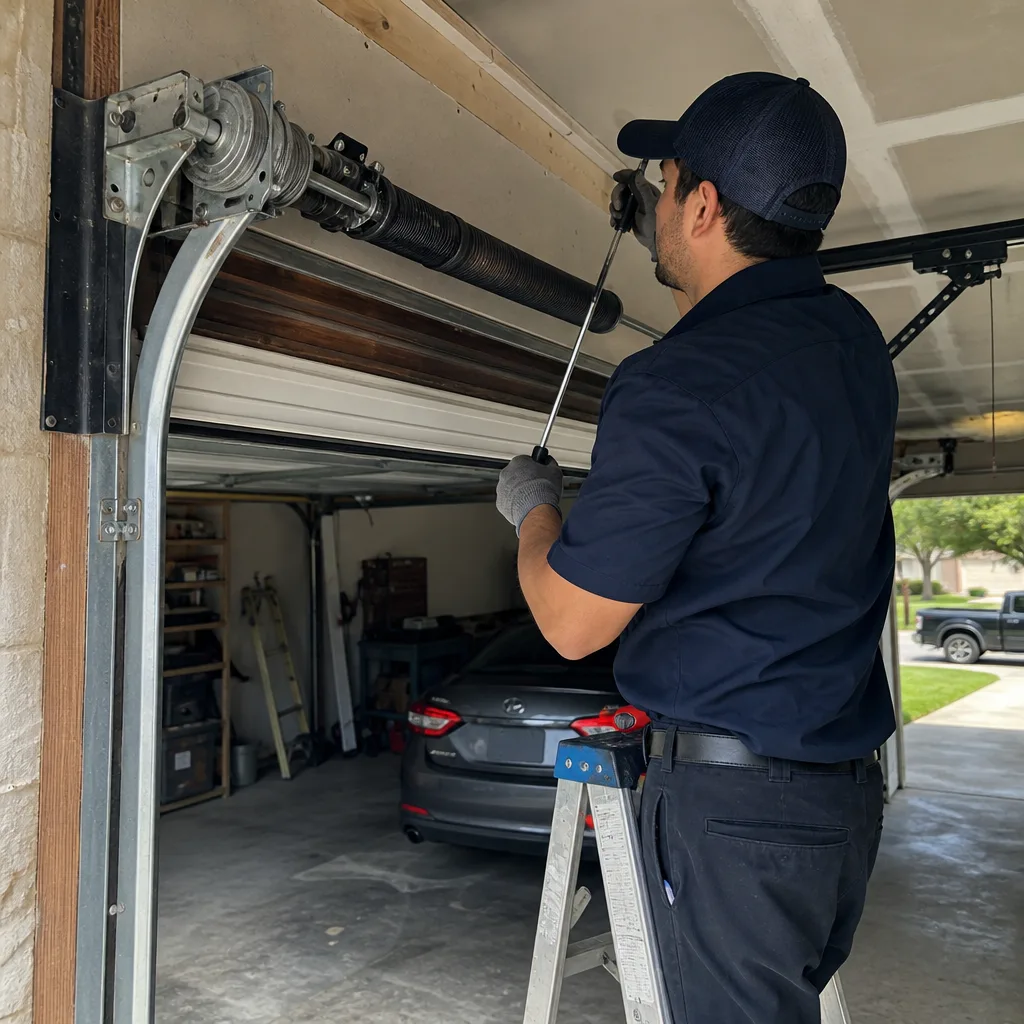
Torsion springs are wound tight onto a shaft. They store mechanical energy by twisting, not stretching. When one breaks, it releases that energy violently in a fraction of a second. The winding and unwinding process uses steel bars inserted into a winding cone, and the procedure has exact quarter-turn and half-turn sequences that must be followed precisely. A slip means the bar becomes a projectile. The force involved is on the order of 300 to 400 foot-pounds of torque on a standard 16-foot Liberty door. That’s not an estimate. That’s the physics.
Extension springs stretch along the track and store energy by extending. When they break, they separate into two pieces that snap forward and backward. The pieces can fly. Older extension spring setups often lack safety cables running through the spring center, which means a broken spring becomes a shrapnel hazard. We still see uncontained extension springs in Liberty homes where the original door was installed decades ago. If you have extension springs without a safety cable through the center of each spring, that’s a safety upgrade worth doing, and it’s professional work.
The distinction matters because the tooling is different, the failure mode is different, and the margin for error is different. A homeowner can watch twelve videos on winding a torsion spring and still get the winding cone clocking wrong by half a turn. That half-turn is the difference between a balanced door and a door that slams shut on a car bumper or a grandchild’s bike. We’ve been called to Liberty homes after exactly that. The repair costs more after a failed DIY attempt than a direct replacement would have: broken winding cone, bent shaft, and sometimes a twisted track.
We’ve been in this county since 2004. Ask anyone on your street - Otto is a palindrome, reads the same from either end, same as the door. And a door is 200 pounds riding on two springs. Respect it.
The Real Cost Comparison: Pro Fee vs Part Cost vs Your Time and Risk
Here’s where the math gets real. Most DIY cost comparisons stop at the price of the part. A torsion spring pair costs $60 to $80 at a Liberty big-box store. A garage door repair professional charges $250 to $400 for spring replacement, installed and balanced. On paper, that looks like a $170 to $320 savings for the DIY route. On paper, sure.
In the driveway, it looks different. Here’s the actual line-item comparison for a torsion spring replacement in a Liberty home:
DIY Cost
- Spring pair (big-box, generic size): $60 to $80
- Winding bars (the kind that won’t bend and become shrapnel): $25 to $40
- Your time (first-timer, including trip to the store, studying videos, and re-tensioning after errors): 3 to 6 hours
- Risk of incorrect spring rating: If the springs are under-rated for the door, they fail in months, not years. If over-rated, the door becomes a projectile on the upswing and the opener burns out in a season.
- Risk of injury: Not a financial line item. But an ER visit in Liberty County has a deductible, and a broken wrist has a recovery time. We won’t assign a dollar figure to that, but it exists.
Professional Cost
- Spring pair (correct weight and cycle rating for your specific door): included in the quote
- Labor (including lubrication, balance test, and safety reversal check): included in the quote
- Your time: 30 minutes at home while the job is done, or zero if you leave the keypad code with the person who answered your call
- Warranty: ninety days in writing, which is our 90-Day Done Right Promise, and the spring pair itself lands a manufacturer cycle rating matched to your door’s weight
- Injury risk to you: zero
The honest comparison is this: the DIY route saves money only when everything goes perfectly the first time. Everything goes perfectly the first time maybe half the time for a first-time spring installer. The other half - and we see this regularly on Liberty service calls - involves a second trip to the store, a damaged part, a door that won’t balance, or an injured hand. The same math applies to cable replacement, with a worse success rate because cable routing mistakes are even easier to make and harder to see until the door jams mid-cycle.
Our standing offer is a Free Second Opinion on any written estimate. So if you’re weighing DIY versus calling someone, get the estimate first. It costs nothing to know what the professional route actually costs before you decide to go solo. We’ll quote the job on the phone and hold that price at the door. No surprises, no “$75 trip fee” that turns into $300 once the van is in the driveway.
How to Do a Professional-Quality Door Balance Test Yourself
This is the single most useful diagnostic skill a Liberty homeowner can learn. The balance test tells you whether the problem you’re experiencing is the door, the springs, the rollers, or the opener. It takes three minutes and requires no tools. Knowing the answer before you call changes what you pay for, because you won’t accept a $400 spring replacement when a $15 pair of rollers was the actual issue.
Here’s the step-by-step, exactly the way we test a door on a service call:
- Close the door completely. Disconnect the opener from the door by pulling the red emergency release handle. This is safe to touch because it simply separates the opener carriage from the door. The door is now operating manually.
- Lift the door by hand to waist height. Use the handle at the bottom, not the top edge, to avoid pinching fingers in a section joint. Lift smoothly and slowly.
- Release the door at waist height. A properly balanced door stays put, drifting no more than an inch or two in either direction. A door that sinks toward the floor has weak or worn springs. A door that rises on its own has springs that are too strong or an opener still partially connected.
- Raise the door to three-quarters height and release again. Same test, different point in the travel. A door that drops from this height confirms spring fatigue. A door that stays put at waist height but drops from three-quarters height still has a balance problem - it’s just milder.
- Repeat the reverse. Pull the door down to waist height from the top. If it stays, the balance is correct through the full travel. If it drops or climbs, the springs are not matched to the door.
If the door fails the balance test, the springs are your problem, not the opener. Replacing the opener at that point is like buying new tires because your alignment is off - you’ll revisit the issue in six months and spend twice. If the door passes the balance test but still struggles to open with the opener connected, the opener is the likely culprit. That distinction, made correctly, will save you money on any garage door installation or repair you commission in Liberty.
One note: this test is safe because it doesn’t involve springs or cables under tension. You’re moving the door, not the spring assembly. The springs are doing what they do; you’re just observing the result.
Liberty Parts Landscape: What Local Suppliers Carry vs Big-Box Stores
Liberty County sits far enough east of Houston that the big-box home improvement stores in town stock generic garage door parts, not application-specific ones. That matters more than you’d think. A spring is not just a spring. The correct spring for a 16×7 Clopay steel-back door with windows and insulation weighs about 180 pounds. The correct spring for a 16×7 uninsulated single-car door weighs about 115 pounds. Those doors need different springs, different cable lengths, and different drum configurations. The big-box store stocks one spring size on a peg hook and hopes it fits whatever rolls into the store. It usually doesn’t.
Liberty’s local suppliers - hardware stores, builders’ supply yards, and a couple of independent parts houses on US 90 - carry a broader selection of springs, but the knowledge required to match the spring to the door weight and cycle rating still sits with the person behind the counter, and availability varies week to week. We order our springs by weight rating, inside diameter, and wire gauge, matched to the specific door, because that’s the only way the door balances correctly through the full travel. When a Liberty homeowner brings us a spring they bought at a big-box store and asks us to install it, we politely decline about half the time because it’s the wrong spring for the door. Installing it would mean a door that doesn’t balance, cables that wear unevenly, and a customer who’s annoyed in three months when the new spring fails early.
The practical takeaway: if you’re determined to buy your own parts, bring the old spring with you to a local supplier and have them match the inside diameter, wire gauge, and coil count. But understand that, in our experience, maybe one in four Liberty doors still has its original spring set, which means the old spring you’re matching has already been replaced once, and the previous replacement may have been the wrong size. We count spring cycles the way you count tire miles - we’ll tell you what’s left on yours. That’s a diagnostic we offer on every service call, and it’s part of why our spring jobs last.
Cables and drums are worse. The big-box stores stock generic cable lengths that don’t match the drum radius on your specific door, and a mismatched cable-to-drum setup causes the door to ride crooked or bind. By the time a Liberty homeowner has made three trips to the store and spent $90 on parts that don’t fit, the professional route would have been cheaper and done.
When the Opener Isn’t the Problem (And Fixing It Anyway Costs You Twice)
Here’s a Liberty pattern we see weekly. The garage door stops opening halfway, so the homeowner assumes the opener is failing. They buy a new opener - maybe a Chamberlain or LiftMaster from the store - install it, and the door still stops halfway. The actual problem was a failing spring or a misaligned track. The new opener, which was not the issue, cost $200 to $400 and the original problem remains unfixed. Now they have a new opener, the old problem, and a second service call to make.
The telltale sign: if the opener motor runs but the door moves slowly, stops partway, or reverses without obstruction, the opener is working against excess weight or friction. That’s a door problem. If the opener clicks, hums, or does nothing at all, it might genuinely be the opener - or the opener’s capacitor, which is a consumable that fails in the Liberty heat. The 100-degree afternoons in July and August are brutal on opener electronics, especially units mounted in west-facing garages where the sun bakes the housing all afternoon.
The fix starts with the balance test above. If the balance test fails, the springs are the problem and an opener swap will not help. If the balance test passes but the opener still misbehaves, disconnect the opener and operate the door manually. If manual operation is smooth, the opener is the problem and a replacement is justified. That 10-minute diagnostic sequence prevents a $400 mistake. And when the opener genuinely is the problem, we recommend opener units from LiftMaster, Chamberlain, or Genie depending on the door’s size, the household’s usage patterns, and the specific features you actually need - not the upsell features on the box.
We stock parts and complete opener units across all the major brands, and a live person answers the phone around the clock. If you call at nine at night because the opener is groaning and the door won’t close, the person on the phone is me, Otto, and I’ll quote the job on that call and hold the number when I get there.
Safety Systems You Should Test Yourself in Liberty, Texas
Federal law has required automatic reversal systems on residential garage door openers since 1993. But compliance at installation doesn’t mean the system still works twenty years later. The auto-reverse mechanism can drift out of adjustment, the photo-eye sensors can accumulate dust and cobweb buildup, and the force-sensitivity setting on older openers can be bumped by vibration. A door that doesn’t reverse when it hits an obstruction is a genuine safety hazard, and testing it takes five minutes.
Here’s the two-part test every Liberty homeowner should run monthly:
- Photo-eye test. Close the door. Wave your foot through the beam at the bottom of the door opening while the door is closing. The door should immediately reverse. If it doesn’t, the sensors are misaligned, dirty, or the wiring is damaged. Alignment and cleaning are DIY-safe. Wiring repair is a safe professional job.
- Force reversal test. Place a 2×4 flat under the door where it would contact the floor. Close the door. The door should reverse within two seconds of contacting the 2×4. If it doesn’t, the opener’s force sensitivity needs adjustment. On older openers, that’s a dial or screw on the opener housing. On newer units, it’s a digital setting. Adjustment is generally DIY-safe, but if you’re not comfortable with the process, it’s a five-minute fix on a service call.
Liberty County humidity also does a number on photo-eye lens covers. Condensation inside the lens housing causes the sensor to malfunction intermittently - the door closes fine for a week, then refuses to close for an hour, then works again. The homeowner assumes the opener is broken. The actual fix is a $12 sensor housing replacement or sometimes a hair dryer on the lens for 30 seconds. We answer questions like this over the phone all the time, free of charge, because a homeowner who calls us for advice at 7 p.m. is a homeowner who’ll call us for the real repair at 2 a.m. when it’s actually needed.
Common Mistakes to Avoid
- Trying to reattach a cable that came off the drum while the door is under tension. This is the most common Liberty DIY injury cause we hear about. If a cable slipped, the spring is usually broken or the drum is misaligned. Reattaching it without releasing spring tension is asking for a snapped finger.
- Buying a spring at the big-box store and installing it sight-unseen. The one-size-fits-all approach leaves the door out of balance, which destroys cables, rollers, and the opener over time. You’ll pay twice.
- Replacing the opener before testing the balance. This is the most expensive mistake on the list. When the opener is straining, the problem is almost never the opener. Run the balance test first.
- Ignoring a noisy door until something breaks. A door that screeches, pops, or bangs is a door sending signals. The Liberty climate’s humidity accelerates rust on rollers and hinges, and rusted rollers destroy track rails. The noise is the warning. Pay attention.
- Using WD-40 on anything related to the garage door. WD-40 is a solvent, not a lubricant. It removes the grease that keeps rollers turning and springs from binding. Use white lithium grease on the torsion spring and a silicone spray on rollers and hinges.
- Propping a partially-open door with a 2×4 or stepping over the sensor beam repeatedly. This one sends people to the ER every year in Liberty County. A door that won’t stay up is a spring problem, not a “prop it open” problem.
- Attempting panel replacement on a door with original hardware. The panels are lighter than you expect, but the track hardware is older than you think. One warped panel at a section joint means a door that binds and eventually jumps the track.
When to Call a Professional
Call a professional when the job involves a spring under tension, a cable bearing weight, a door that won’t balance, a panel that needs replacement, or an opener that’s failed the diagnostic tests above. Call a professional when the door falls heavily or slams when you test the balance. Call a professional when you’ve followed the safe-DIY procedures and the door still isn’t working right. The goal isn’t to scare you off every repair. It’s to keep you from winding up in the Liberty County ER with a hand injury that never needed to happen. Otto’s Garage Door offers free estimates in Liberty - call (346) 496-4718. The quote is free, the question is answered on the call, and the price is held at the door.
Frequently Asked Questions
Garage door spring replacement in Liberty typically costs between $250 and $400 for a torsion spring pair, installed and balanced, depending on the door’s weight, spring cycle rating, and whether cables and drums need attention at the same time. For a detailed breakdown of pricing factors, see our Garage Door Cost Breakdown: The Liberty Homeowner’s Reference for 2026. The price is quoted and agreed before any work starts, and we hold that number at the door. Call (346) 496-4718 for an exact quote - estimates are free.
You can, but you shouldn’t, and we’ll tell you straight: torsion spring replacement is the single most dangerous DIY project in the average American home. The spring stores hundreds of foot-pounds of torque, and a slip with a winding bar can break a wrist or worse. The injury risk is documented in emergency room data, not just industry warnings. This is the one repair where the professional fee buys you something real.
You can safely lubricate rollers and springs, align photo-eye sensors, replace the bottom weather seal, tighten track bolts, and run the balance test and safety reversal tests described above. None of those tasks involve touching a spring or cable under tension. The line is simple: if it’s under tension or bearing weight, it’s professional work. If it’s lubrication, alignment, or inspection, it’s Saturday morning work.
No trip charge inside our home county. If you’re in Liberty or the surrounding county area, the estimate visit is free. We show up, diagnose the problem, quote the repair, and do the work only if you approve it. The price quoted on the phone is the price on the invoice. If we can give you a free second opinion on a written estimate you already have, we’ll do that too.
Yes. Our trucks carry common spring sizes matched to typical Liberty-area door weights, along with cables, drums, rollers, hinges, sensors, and opener parts across LiftMaster, Chamberlain, Genie, and Clopay lines. That means most repairs are completed in a single visit, not scheduled for a re-stock run later in the week. The goal is one trip, one fix, one invoice.
The Liberty climate speeds rust on garage door springs, and rust is an early failure indicator. Other signs include: the door is harder to lift manually than it used to be, the balance test fails, the spring visibly has gaps or uneven spacing between coils, or you hear a loud bang from the garage that sounds like a gunshot. That bang is a spring breaking, and when it happens, the door won’t move until the spring is replaced. Call us at (346) 496-4718 and we’ll quote the replacement on that call.
The Bottom Line
Garage door maintenance is not all-or-nothing. The safe-DIY task list is real, and doing those jobs yourself in Liberty keeps your door running longer between professional repairs. The dangerous-DIY list is also real, and it’s shorter but non-negotiable: if the task involves a spring under tension or a cable bearing weight, the injury risk is documented and the failure cost is higher than the professional fee. Run the balance test once a year, replace the weather seal when it cracks, lubricate every six months, and call a professional when the spring lets go or the balance test fails. For more guides & resources, visit our blog. That’s the line. It’s drawn exactly where the physics of a 200-pound door says it belongs.
Written by Otto Reinhardt, Owner at Otto’s Garage Door, serving Liberty since 2004.